Table of Contents
Can I Install a Whole House Humidifier Myself? You’re not the only one! It might seem tough, but with the right tools and some guidance, you can do it.
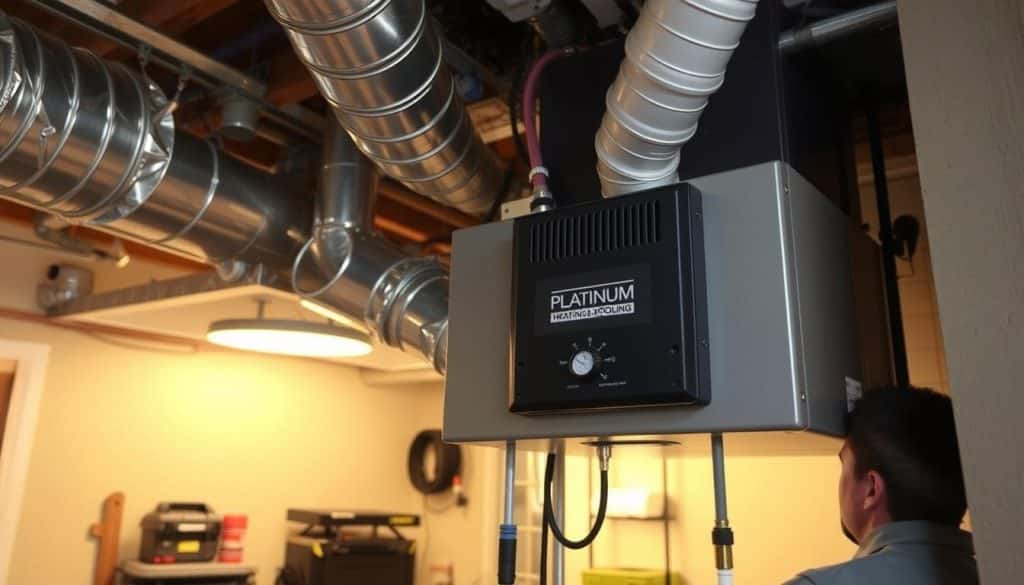
Many homeowners have successfully installed a whole house humidifier in about two hours. These units connect to your furnace’s main stack or return-air duct. They draw water from a nearby pipe. But, it’s not easy. You need to prepare well.
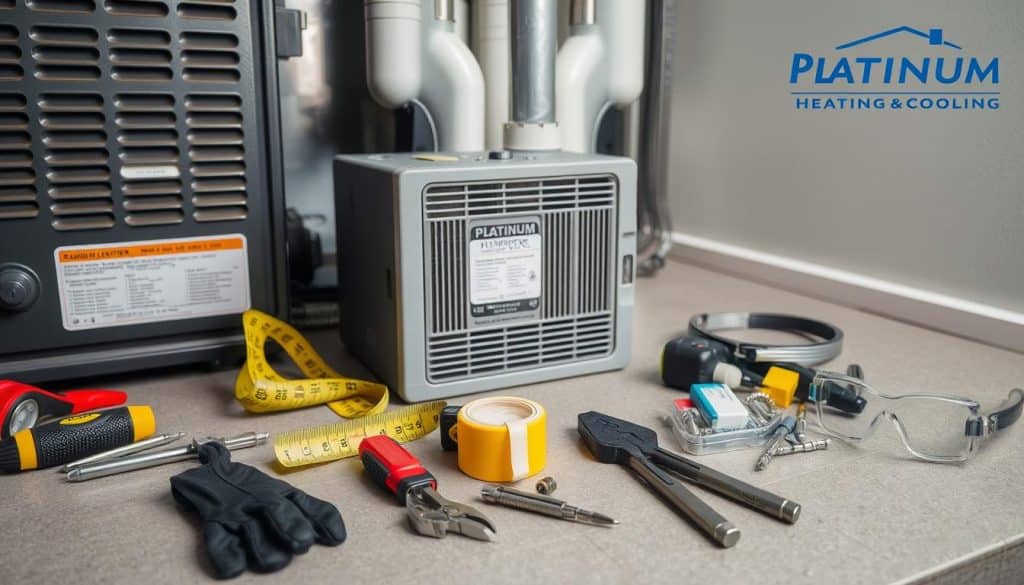
First, turn off the furnace. Then, mark and cut holes for venting. You’ll also need tools like felt-tip markers, snips, screws, and wire nuts.
Key Takeaways
- DIY whole house humidifier installation can be done in approximately two hours.
- Humidifiers are usually connected to the forced-air furnace’s main stack or return-air duct.
- Necessary preparations include shutting off the furnace and accurately marking and cutting venting holes.
- Essential tools and supplies include felt-tip markers, aviation snips, sheet metal screws, and wire nuts.
- Proper guidance and adherence to instructions are crucial for a successful DIY installation.
Introduction to DIY Whole House Humidifier Installation
Starting a DIY whole house humidifier project can be very rewarding. It saves money and helps you understand your HVAC system better. This effort keeps your air quality high, protects your wood furniture, and helps with allergies.
Benefits of Installing a Humidifier Yourself
Installing a humidifier yourself has many perks. You get to control your HVAC system and learn about it. You also save money by not paying for professional labor. Plus, knowing how to install it makes maintenance easier.
This hands-on experience can make your home’s air better. Good air quality is key for your health and happiness.
Challenges and Considerations
But, there are challenges with DIY projects. You need special tools and know a lot about HVAC systems. It’s not just about following steps; you must also know local building codes and safety rules.
Talking to experts like those at Platinum Heating & Cooling is a good idea. They can give you important tips and make sure everything is done right.
What Tools and Materials You Will Need
To start a DIY whole house humidifier installation, knowing what tools and materials you need is key. Having everything ready at the beginning makes the installation smoother and more efficient.
Essential Tools
For this DIY humidifier installation guide, you will need the following essential tools:
- A felt-tip marker
- Aviation snips
- Drill
- Screwdriver
- Wire nuts
Required Materials
The following materials are required for your humidifier installation:
- Humidifier unit
- Vent pipe
- Sheet metal screws
- Saddle valve or T-fitting for the water line
- Bypass pipe and elbows (if a bypass vent is needed)
Some humidifier kits come with all the materials you need. Always check the manufacturer’s DIY humidifier installation instructions. This way, you’ll know you have everything required. Being well-prepared with the right tools and materials makes the installation easier and more successful.
Step-by-Step Humidifier Installation Guide
Installing a whole house humidifier keeps your home comfortable all year. This guide will help you through the process. Always be safe and follow the manufacturer’s instructions closely.
Preparation and Safety Measures
Before starting, get all the tools and materials you need. Make sure your workspace is clear and safe. Turn off the heating system and electricity to avoid risks.
Wear gloves and goggles to protect yourself. This is important for a safe and successful installation.
Installation Process
Choose a good spot on the air ducts for the humidifier. Mark where you’ll cut, making sure it fits right. Use tin snips or a similar tool to cut the ductwork.
Put the humidifier in the opening and secure it as the manufacturer says. Next, connect the water valve to your home’s water line. Make sure it’s tight to avoid leaks.
Then, wire the humidistat as the guide tells you. This controls the humidity. It’s key to follow these tips to avoid mistakes.
Final Testing and Adjustments
Turn on the power and electricity after installing. Start the humidifier and watch how it works. Check for leaks or other problems in the connections.
Adjust the humidistat to your preferred humidity level. Make sure everything is working right. These steps will help you set it up smoothly.
While DIY installations are fun, know your local laws. In some places, you need a licensed pro for certain jobs. Always check the guide and ask experts, like Platinum Heating & Cooling, for help.
Common Mistakes to Avoid During Installation
Starting a DIY whole house humidifier installation can lead to mistakes. One big error is picking the wrong spot. The right place is key for the humidifier to work well. Also, make sure the humidifier fits your home’s size right. The wrong size can make your home too wet or too dry.
When you cut into air ducts, be careful. A bad cut can harm your HVAC system and cost more money. Make sure the humidifier is well-attached to avoid damage from shaking. Also, handle electrical parts with care to avoid short circuits or fires.
Don’t forget to seal all water connections well. Leaks can cause water damage and mold. Check every connection twice. Always wear protective gear to stay safe while working.
With careful planning and attention, you can avoid these mistakes. A successful installing a humidifier DIY project will keep your home comfortable and safe. It will also save you from extra energy costs or HVAC system repairs.
Professional Installation Vs. DIY
Deciding between professional installation and DIY for your whole house humidifier involves several factors. Cost, skill level, and long-term benefits are key. A DIY approach might seem cheaper at first, but it demands careful attention and safety adherence.
Cost Comparison
Professional installation costs more due to labor, which makes up about a third of the total price. DIY options can save on labor costs. Yet, initial savings might not outweigh future expenses from improper installation.
The type of humidifier also affects costs. Drum models are the cheapest, while steam models are more expensive but efficient. This means installation costs vary based on the humidifier type.
Pros and Cons of Each Option
Professional installation ensures experts handle the job and follows local codes. It often comes with a service guarantee. Companies like Platinum Heating & Cooling offer reliable services, but at a higher cost.
DIY installation can save money and give you a sense of accomplishment. It requires the right skills and knowledge from a whole house humidifier guide. Your comfort with complex tasks and maintenance plans influences your choice.
Conclusion
Thinking about installing a whole house humidifier yourself? It’s important to think about a few things first. You can do it yourself if you’re ready, have the right tools, and know the local building codes. If you’re good with HVAC systems and feel confident, you can save money and learn more about your home.
But, there are risks and challenges. Making mistakes can hurt your HVAC system’s performance or even damage it. If you want to avoid these problems, hiring a professional is a safer choice. Companies like Platinum Heating & Cooling offer expert services and maintenance plans for long-term reliability.
Choosing between DIY and hiring a pro depends on your skills, budget, and local rules. Think about these carefully before making a decision. For help or advice, contact Platinum Heating & Cooling at (616) 229-0444 or office@platinumheatingmi.com. They’re ready to assist with your humidifier needs. Either way, your home will stay comfortable and healthy.


